You’ve Got (Tile) Mail
You’ve Got (Tile) Mail

Ceramic Tiles
Personal Project
Timeline
Oct 2019 - Mar 2020
Location
Remote, via email
Role
Pattern designer, ceramic manufacturer, renderer
Partners & Collaborators
Brontë Marsteller︎︎︎ color & pattern design (pt 1)
Paul Bird︎︎︎ 3D material rendering (pt 2)
Tools
Illustrator, Photoshop, Google Suite, Clay, Zoom
Personal Project
Timeline
Oct 2019 - Mar 2020
Location
Remote, via email
Role
Pattern designer, ceramic manufacturer, renderer
Partners & Collaborators
Brontë Marsteller︎︎︎ color & pattern design (pt 1)
Paul Bird︎︎︎ 3D material rendering (pt 2)
Tools
Illustrator, Photoshop, Google Suite, Clay, Zoom
Project Overview
Part 1:
An online friendship that blossomed into a working collaboration, this project was all about discovery and play. How could we teach each other more about the way we work? How could we take fundamental elements of our process to build new work within our aesthetically similar styles? Over the course of many emails and Instagram Direct Messages, Brontë Marsteller and I developed these 4 different rounds of ceramic tiles. The project was cut short by COVID, but the iterative and collaborative process is one we hope to continue in the future.
Part 2:
In the depths of winter 2020, Paul Bird reached out. He is an Industrial Designer with an interest in bridging the physical and digital, especially in rendering realistic colors and textures for the purposes of reducing the negative environmental impacts of sample-producing for a range of physical products. In further imagining what this project could look like as a product, we worked together to transform the 3rd round of Part 1 into a digital sample.
---------------------------------------------------
PART 1
---------------------------------------------------Collaborate
Brontë and I both focus a lot on geometry in our work. While I was interested in exploring the different ways you can color and manipulate clay, she focused more on color theoery and how she could play with that in her paintings. Back & forth on one very long email chain started in October of 2019, we explored and explained parts of our process. Though we could’ve easily held video calls, we flourished over email where we could take time to think deeply about what the other person had shared before sending back a long and well thought through response. We gave each other space - there was no deadline, no specific end goal in mind - just the hope of experimenting together in a new way for both of us.
Digital beginnings
The tile pattern and colors were developed digitally. Using a painting Brontë made as a starting point, we created the motif for the experiment. I took photos of every glaze color offered at my ceramics studio at the time, using the images of the glazes as reference points for colorway development.

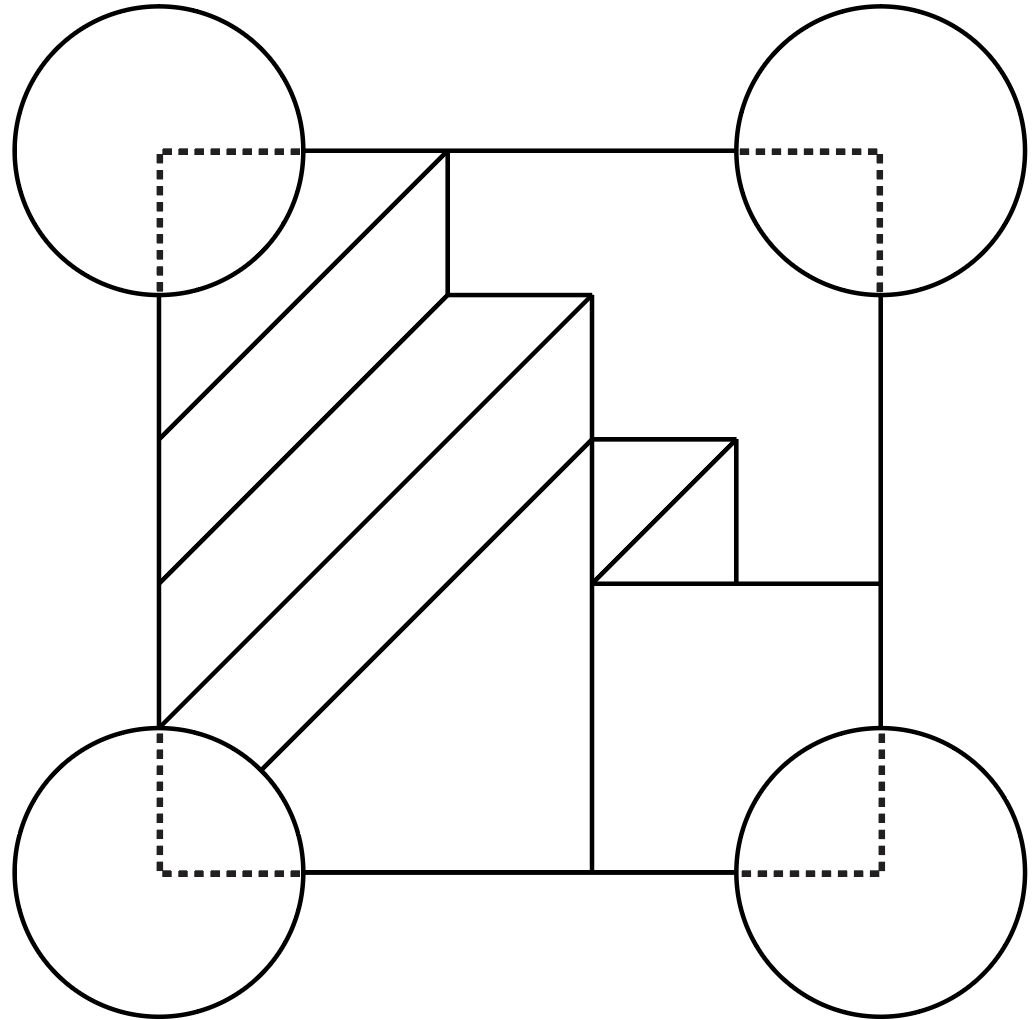
Round 1 was extremely literal
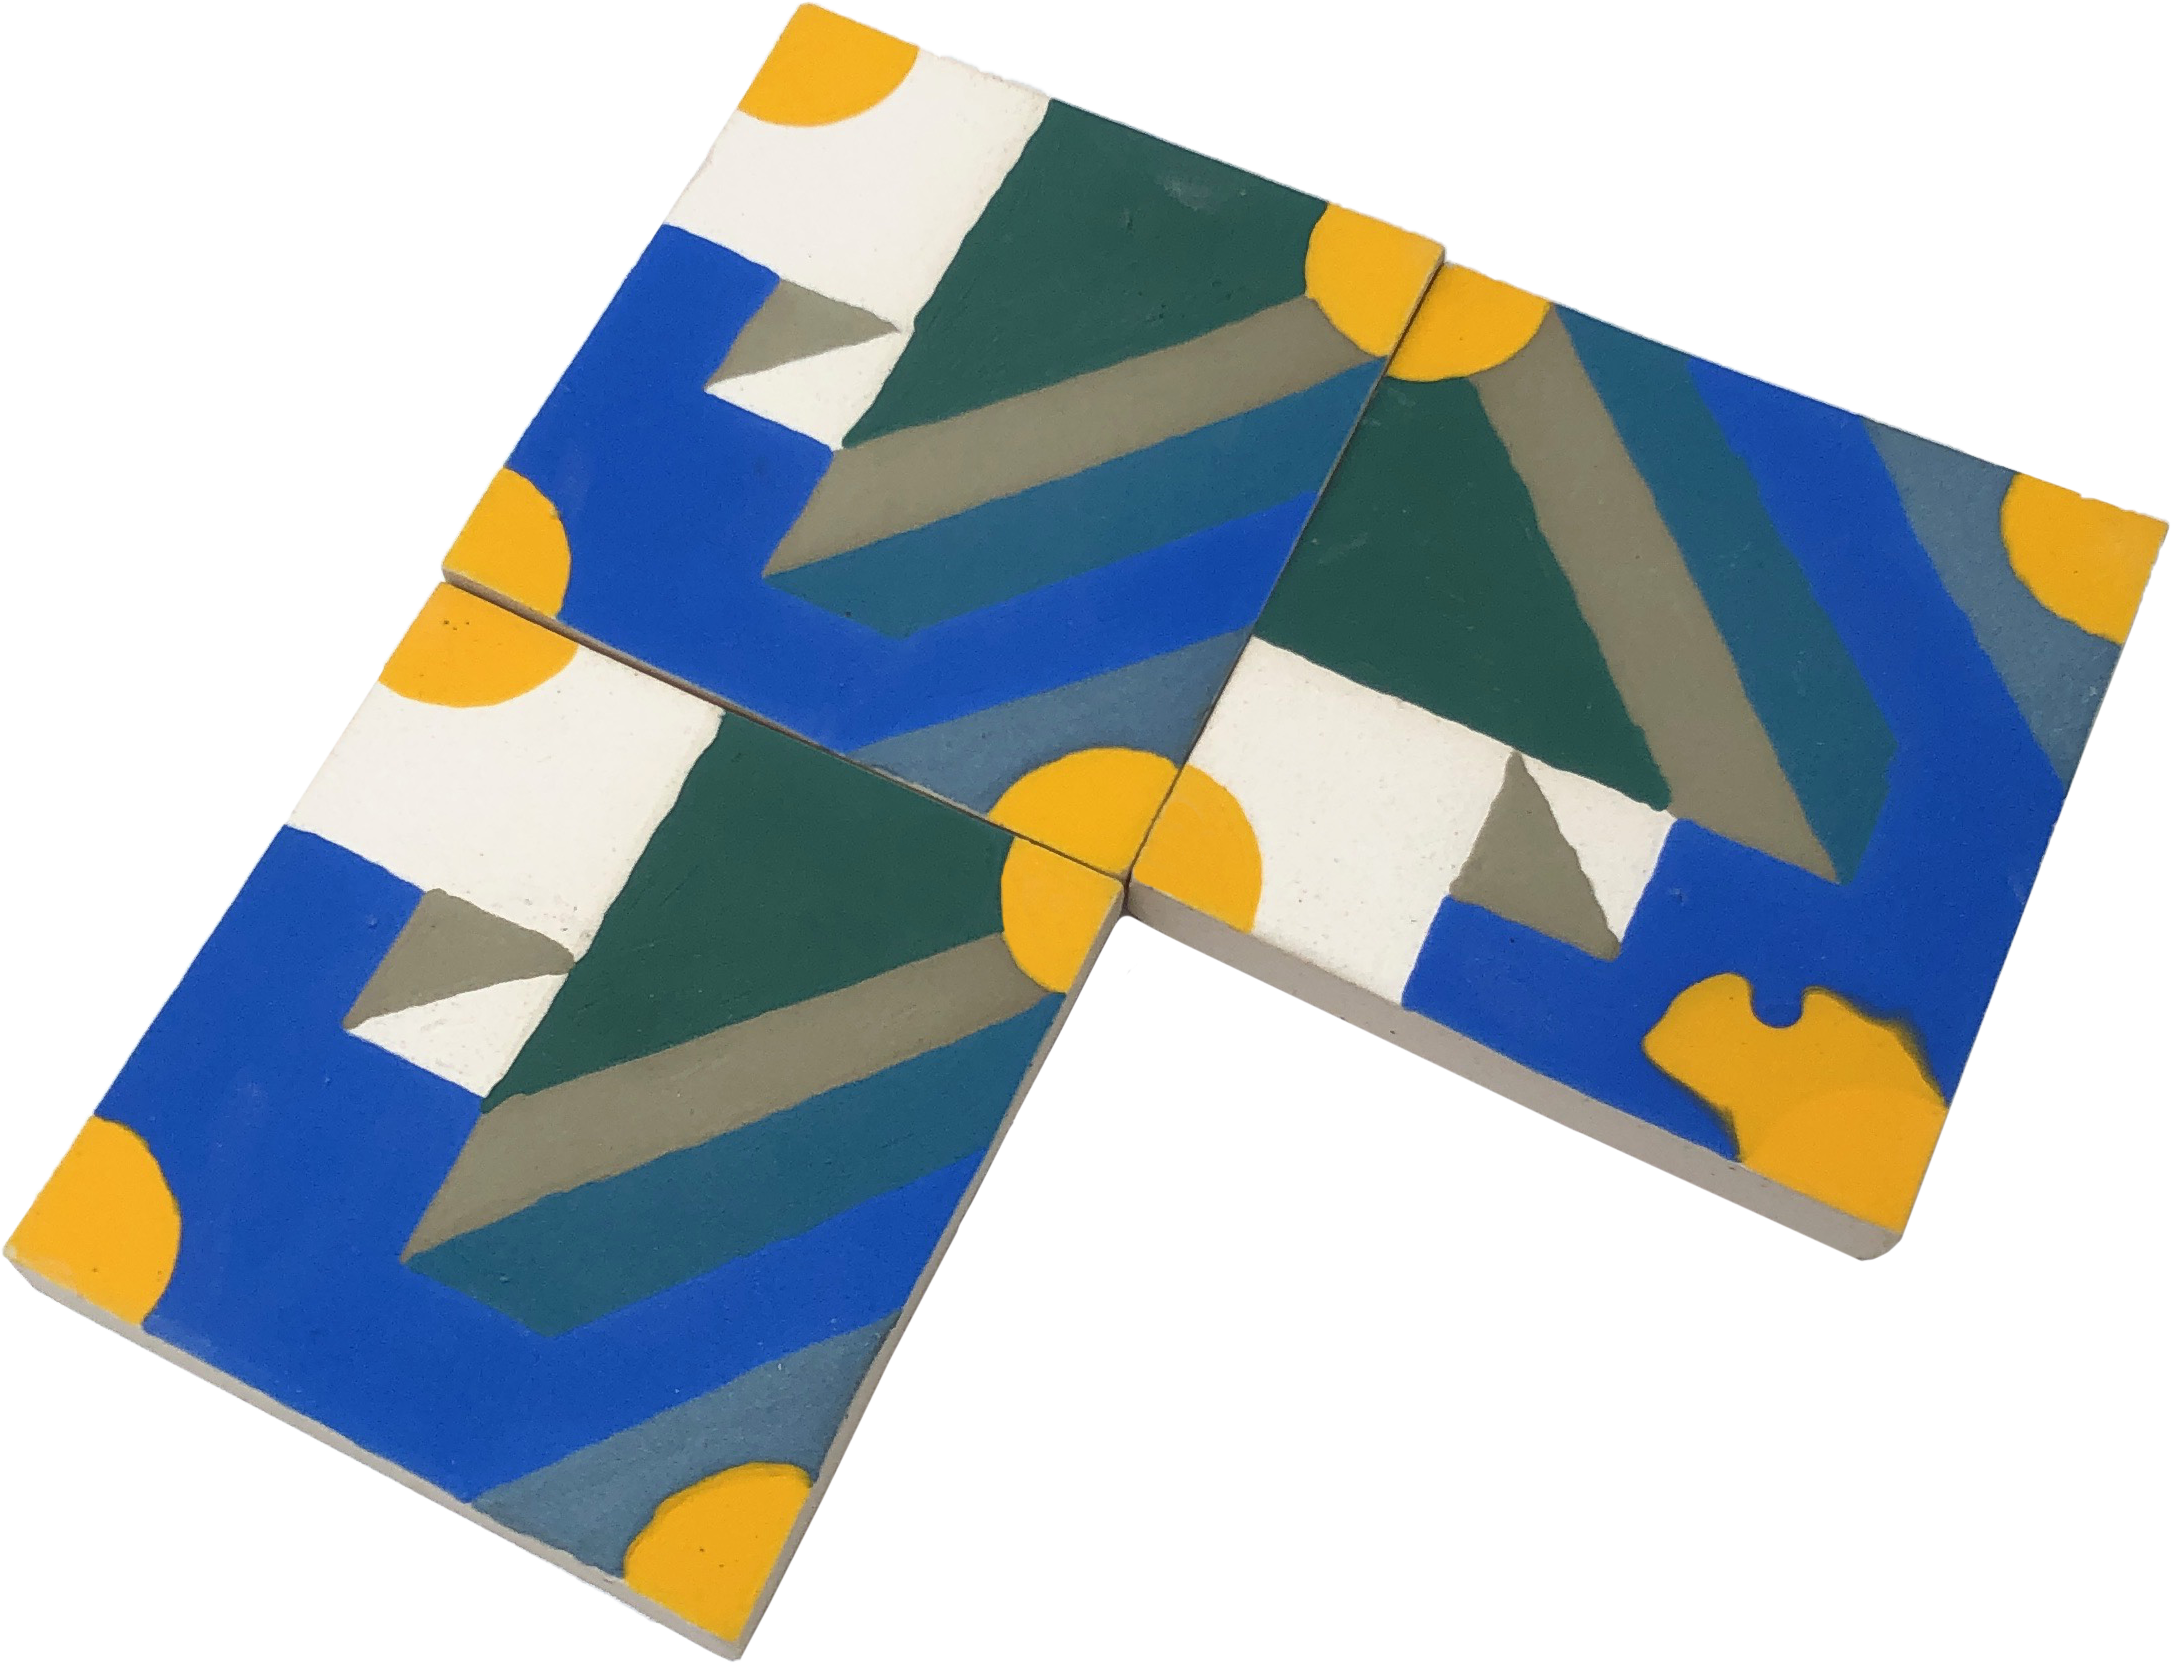
At the time, I was working on my first repeat pattern at my job, ironically a wallpaper company known for its distinct lack of pattern and emphasis on non-repeating murals. It was
a completely new way of thinking about things for me -- creating an individual unit which, when repeated, would create a pattern both individually and together. I rolled out a slab of clay long enough to cut out (3) 2.75” x 2.75” tiles and used colored slip and underglaze to color the tiles. I had just purchased my first underglazes and was excited to try them out.
I found that:
- The viscosity of the underglazes made it harder for me to control (see yolk-like burst)
- Slip is too gritty for detailed squeeze bottle work, at least at the current scale
- The full matte effect made possible by only using underglazes and slip to color was less interesting to me than I had originally imagined
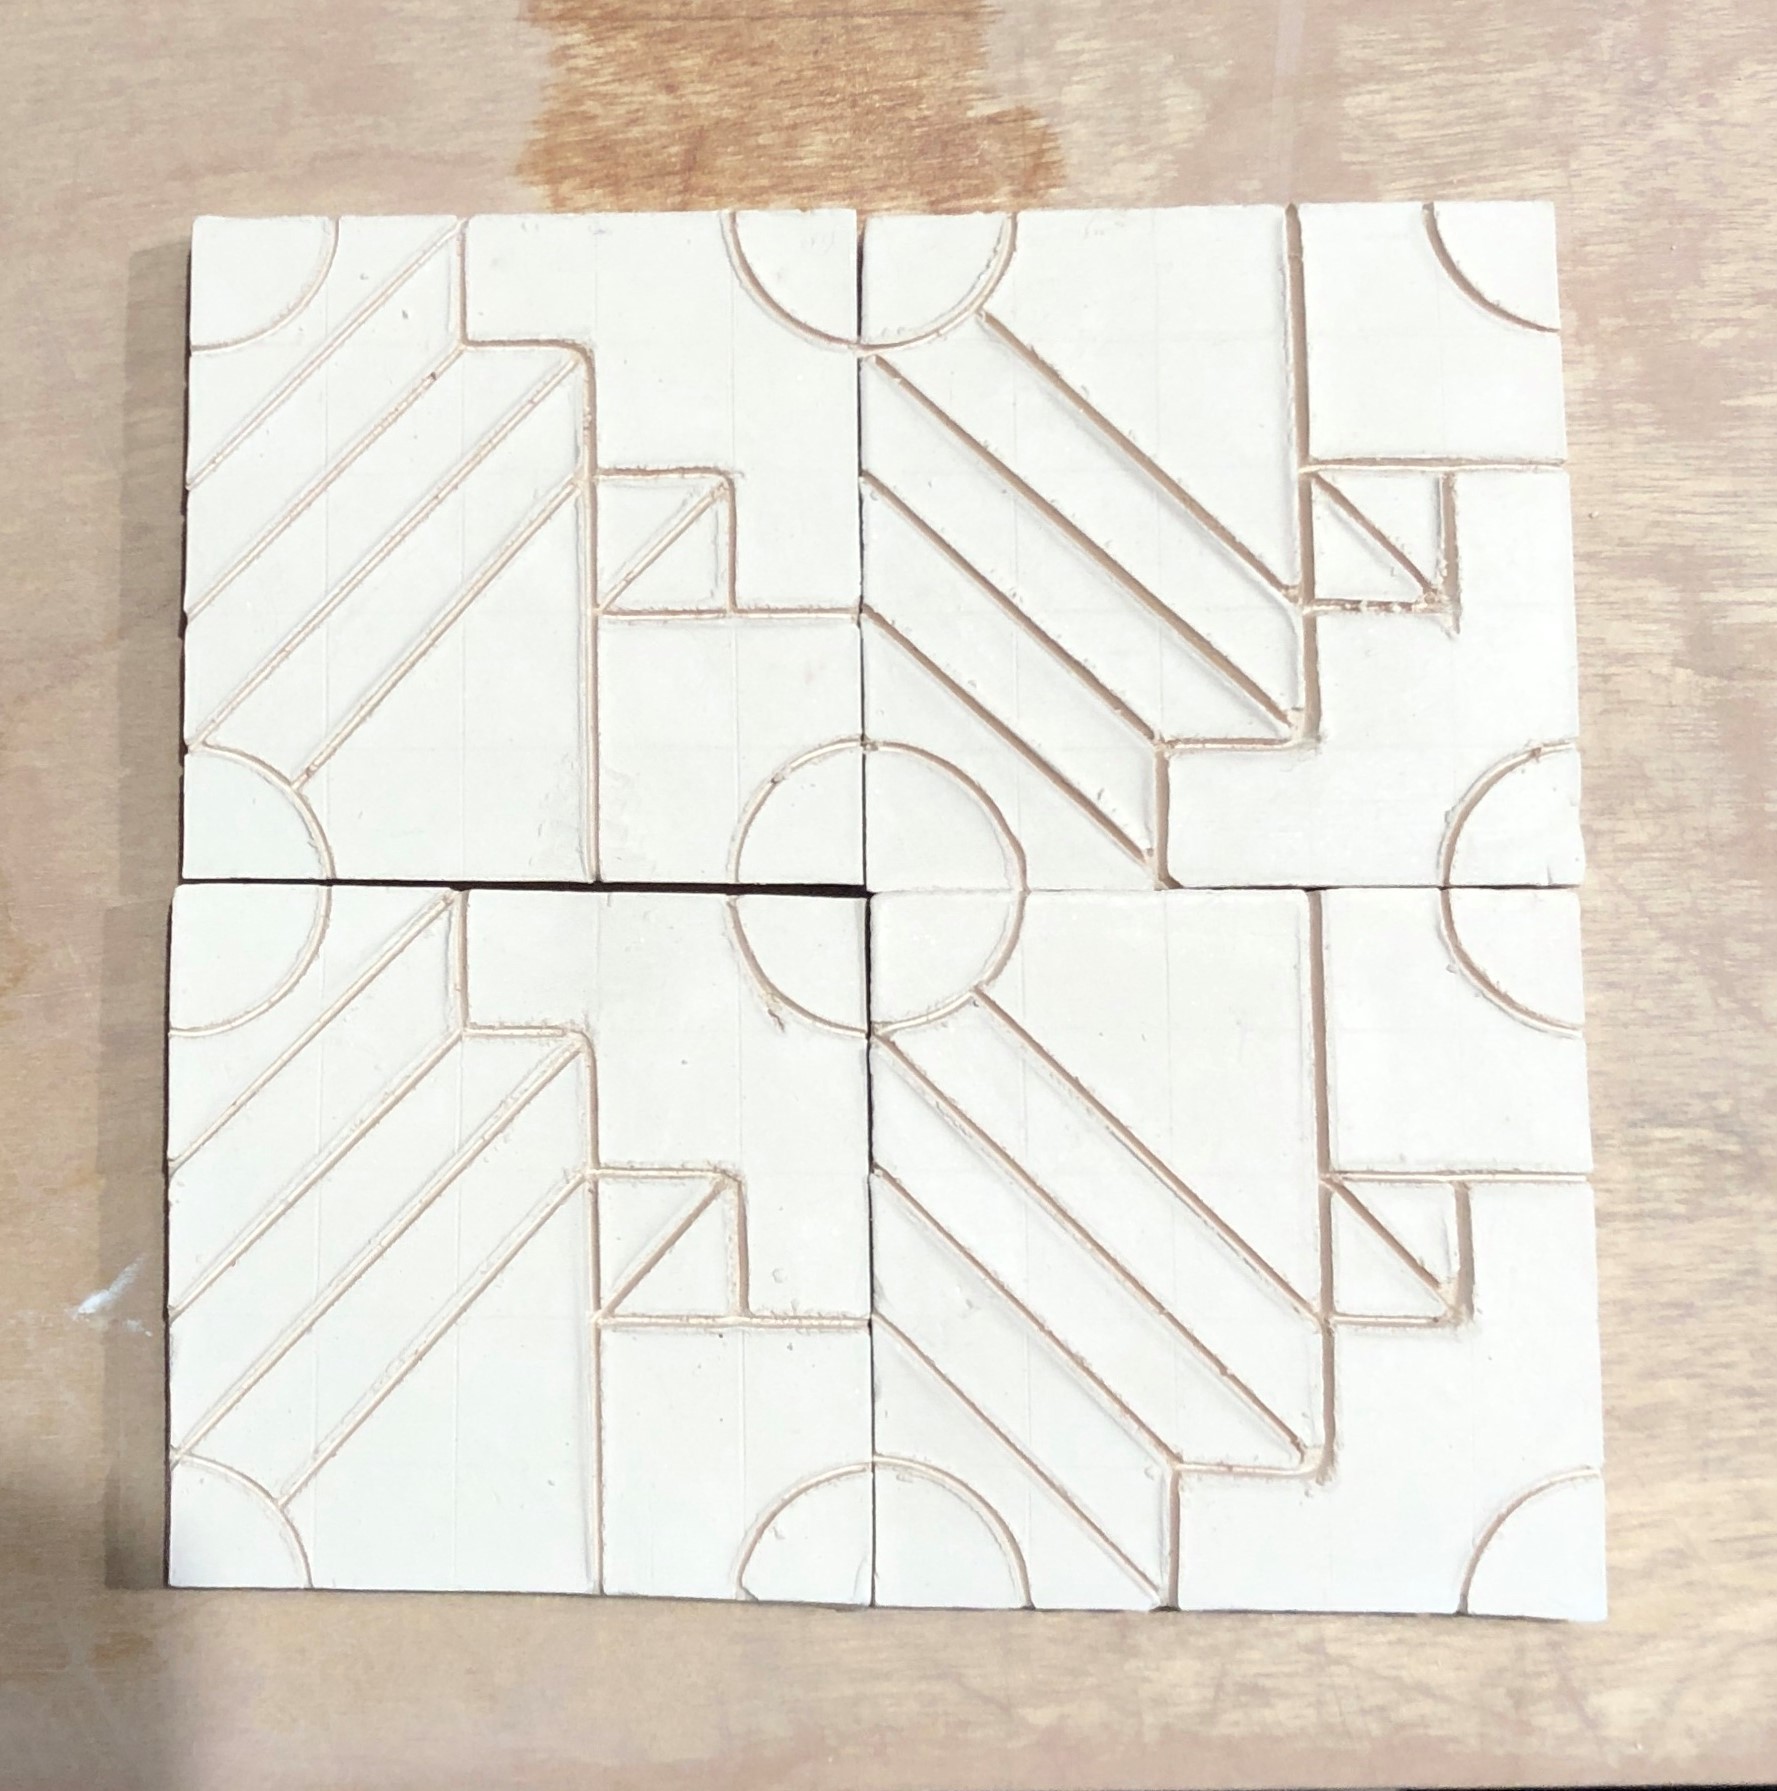
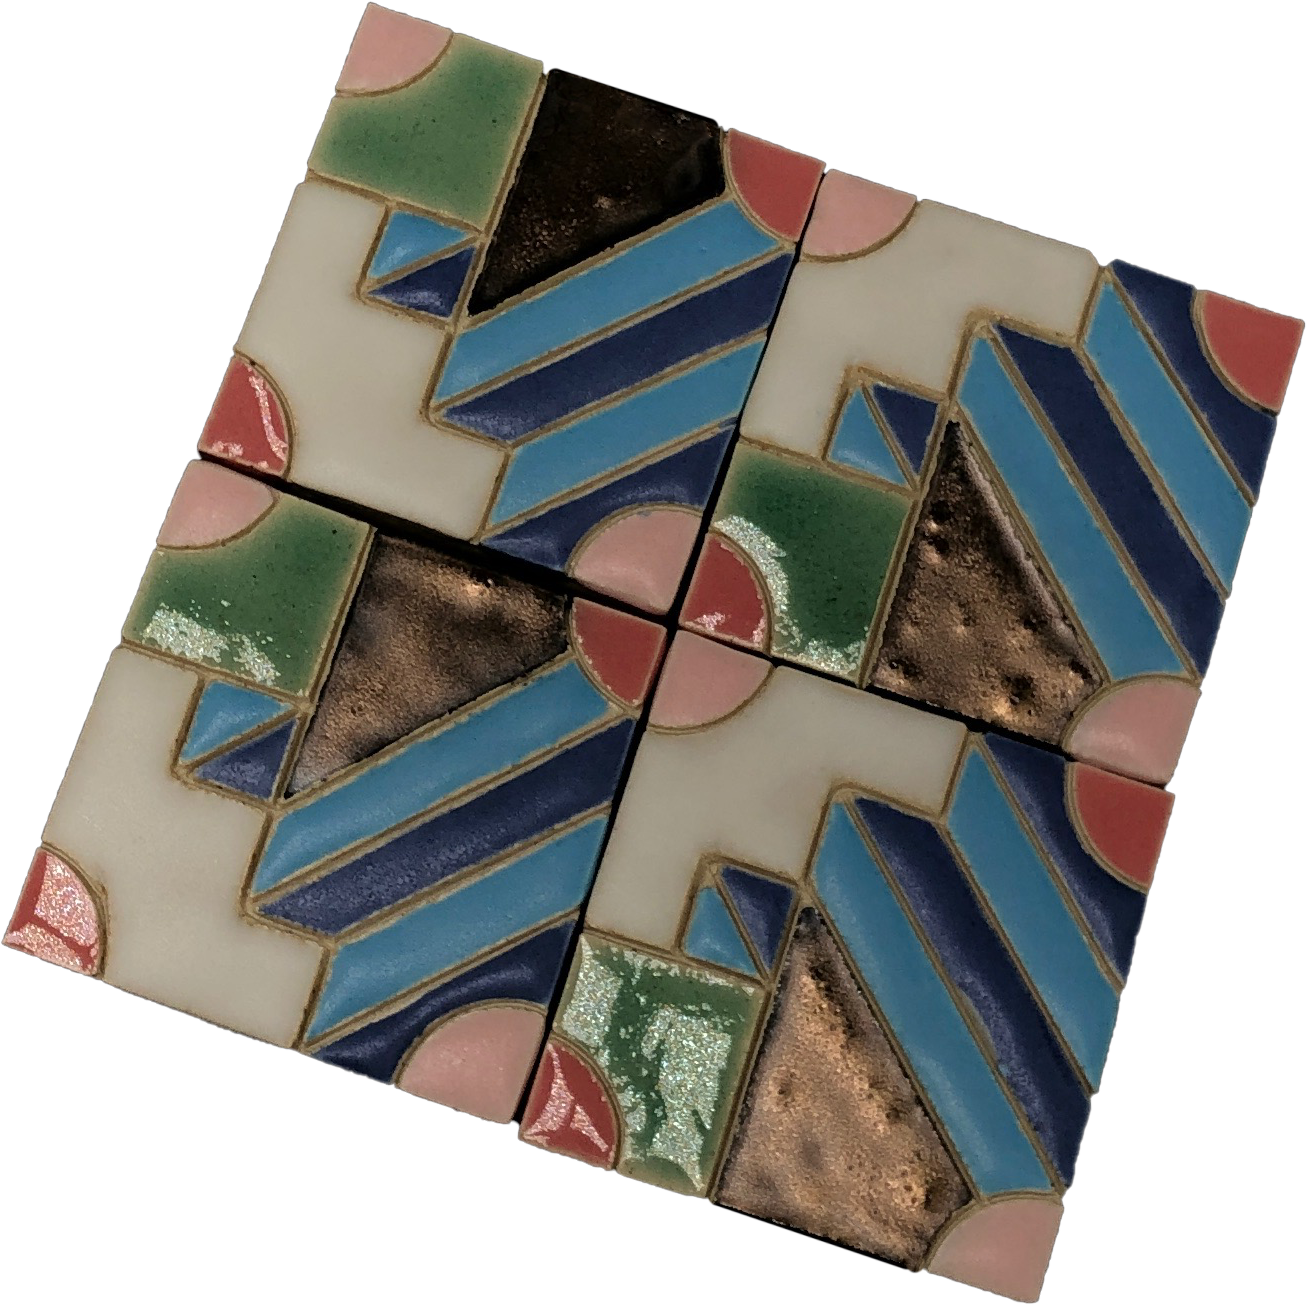
For Round 2, I switched to glazes
Using the wide variety of pre-mixed glazes available at my studio, Brontë and I created a swatch page for her to use as a reference guide for imagining different color combinations. This time, to make the lines between color more precise, I carved each geometric element into the clay and piped wax into the carved lines to help keep the glazds from bleeding into one another. These tiles were slightly smaller at 2.25” x 2.25” and using squeeze bottles to apply the different glazes meant needing to ensure a steady hand with as much room for error as possible.
I found that:
- The different textures and shiny v. matte effects of the various glazes added new dimension
- The carving combined with the wax resist helped keep the lines extremely clean
- Though I was pleased with the end result, I felt the tiles were a little busy due to their scale
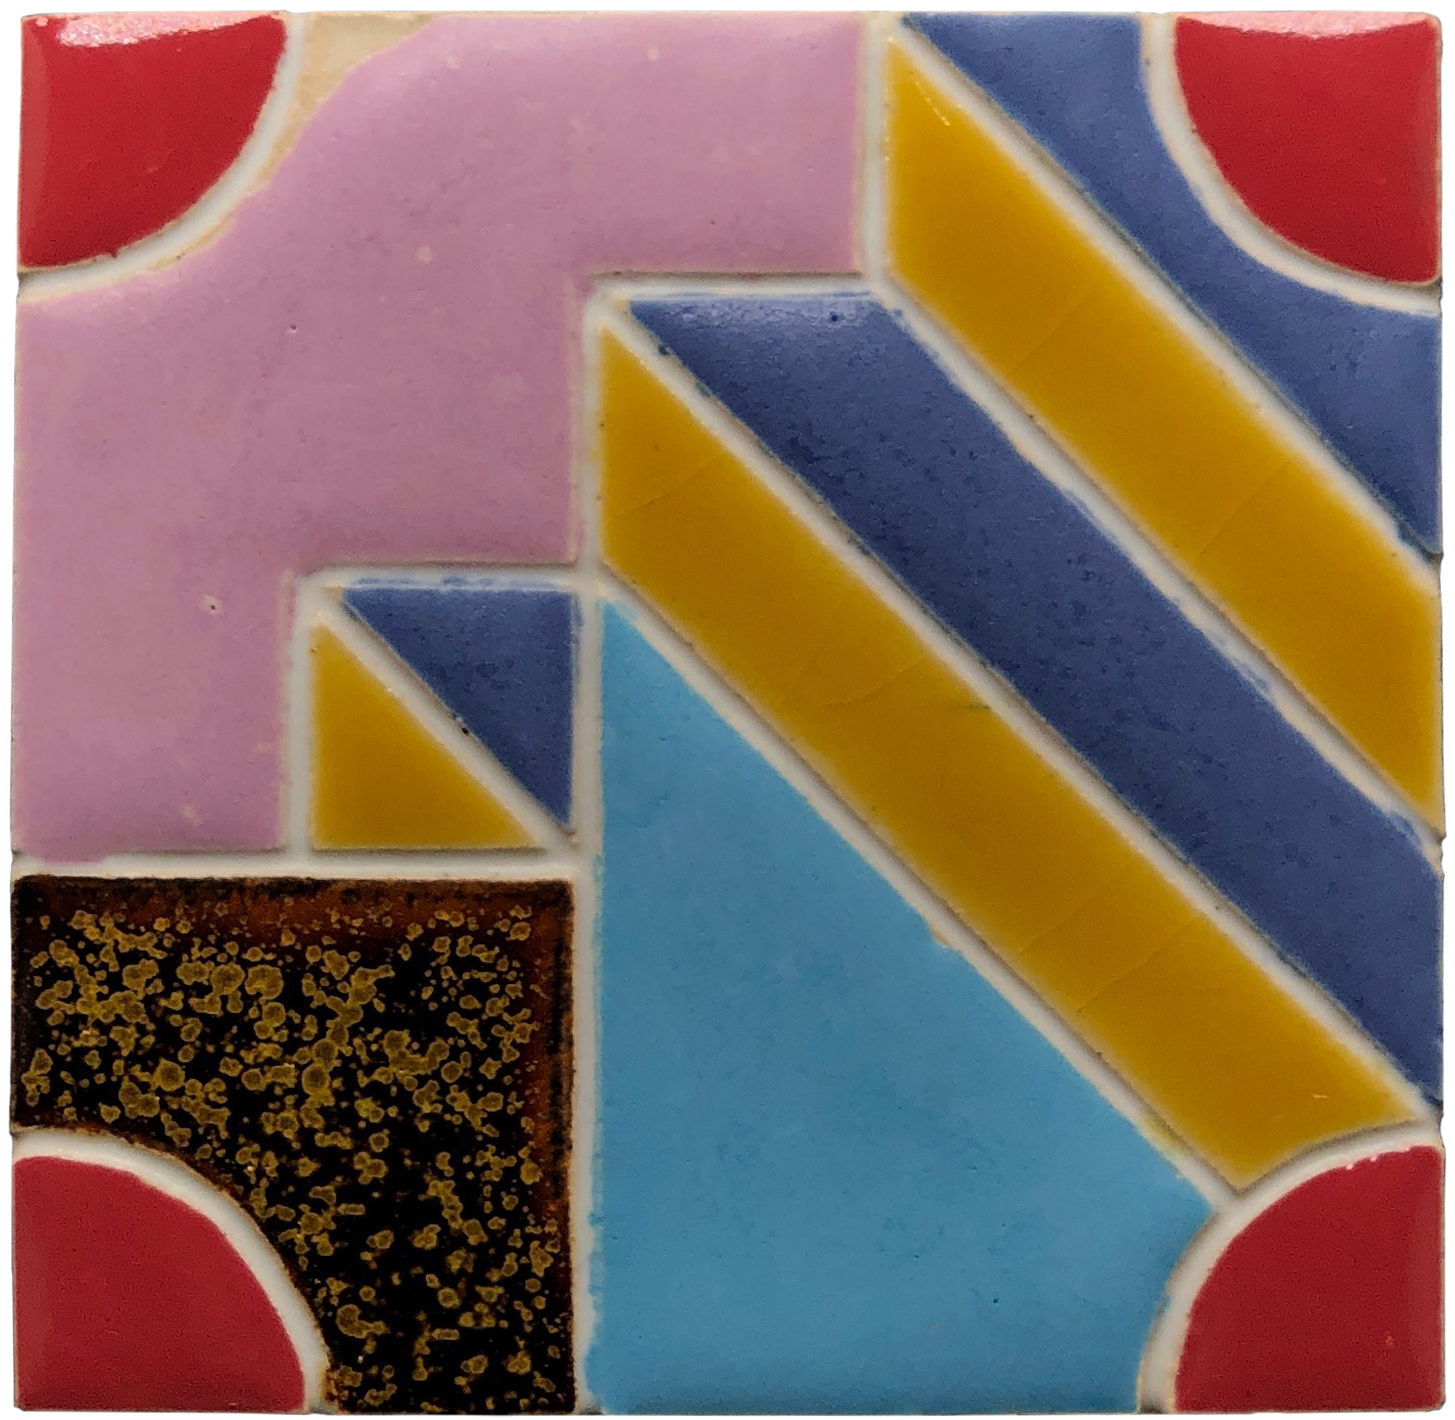
The third time, I wanted to scale up
What is a standard “square” tile size? Would the tile feel less busy at a larger scale? Will the glaze apply as cleanly as it did at the smaller scale using the precision tip squeeze bottles I had been using? What if instead of having the carved, raw ceramic come through in the dividing lines, I filled them with glaze? These were a few questions I had in mind when starting this round. I went to Home Depot and bought (1) 4”x4” and (1) 6”x6” basic white tile for under a dollar each. As I debated which size I liked better, I ended up throwing out the idea of using a “standard” size and made (4) 4.5”x4.5” tiles.
I found that:
- The smaller precision squeeze bottles I had been using were not as great for a larger tile
- The scale felt a lot better as individual tiles, though I now preferred the pattern at a smaller scale in repeat
- I didn’t like the effect of filling int he carved line with white glaze
- I was curious how the pattern could be reimagined as individual units


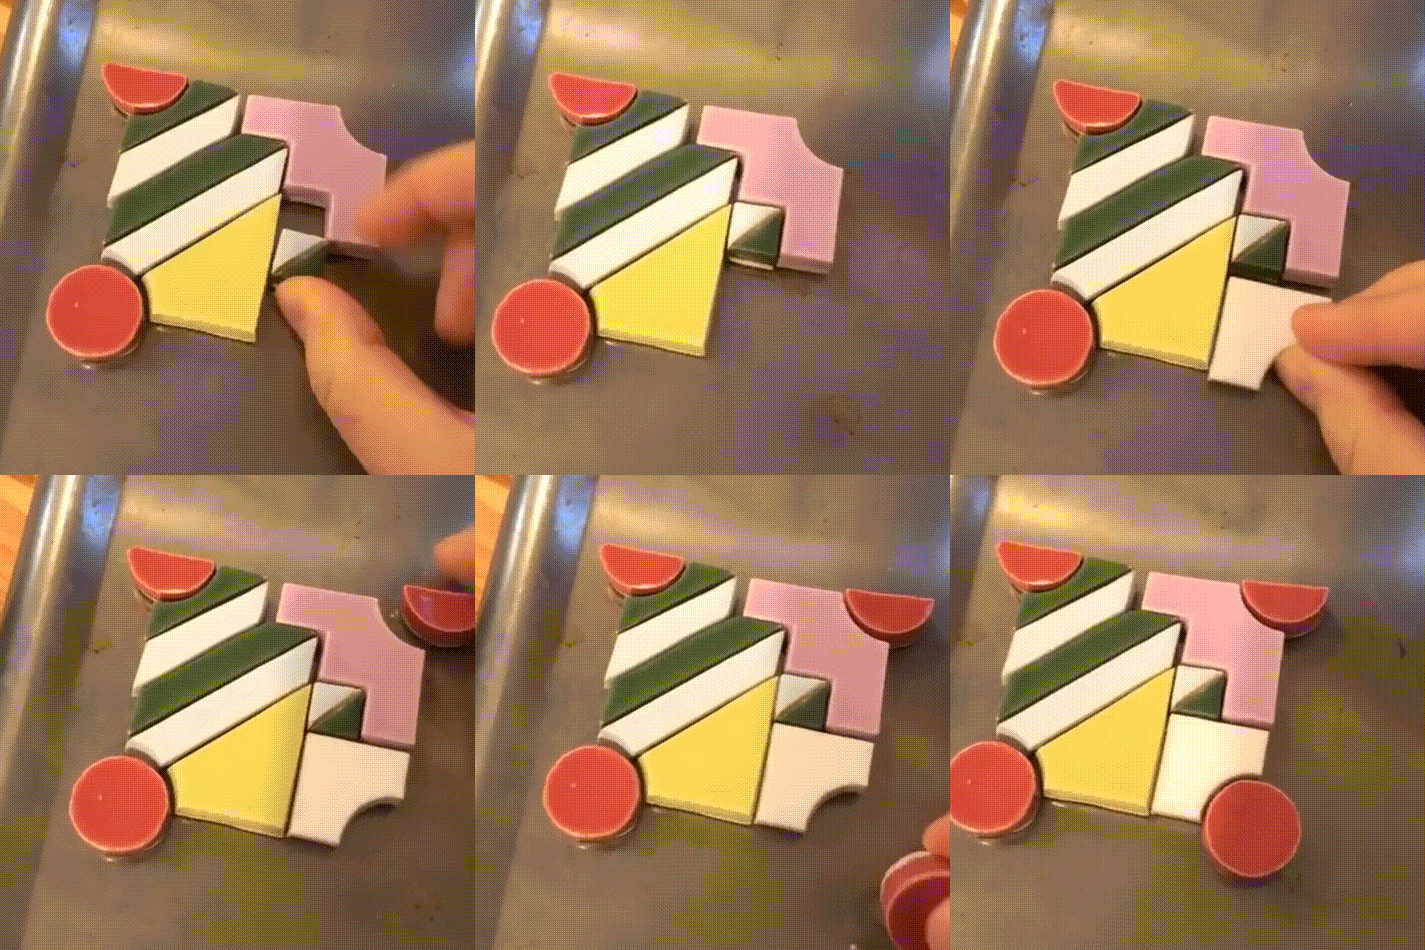
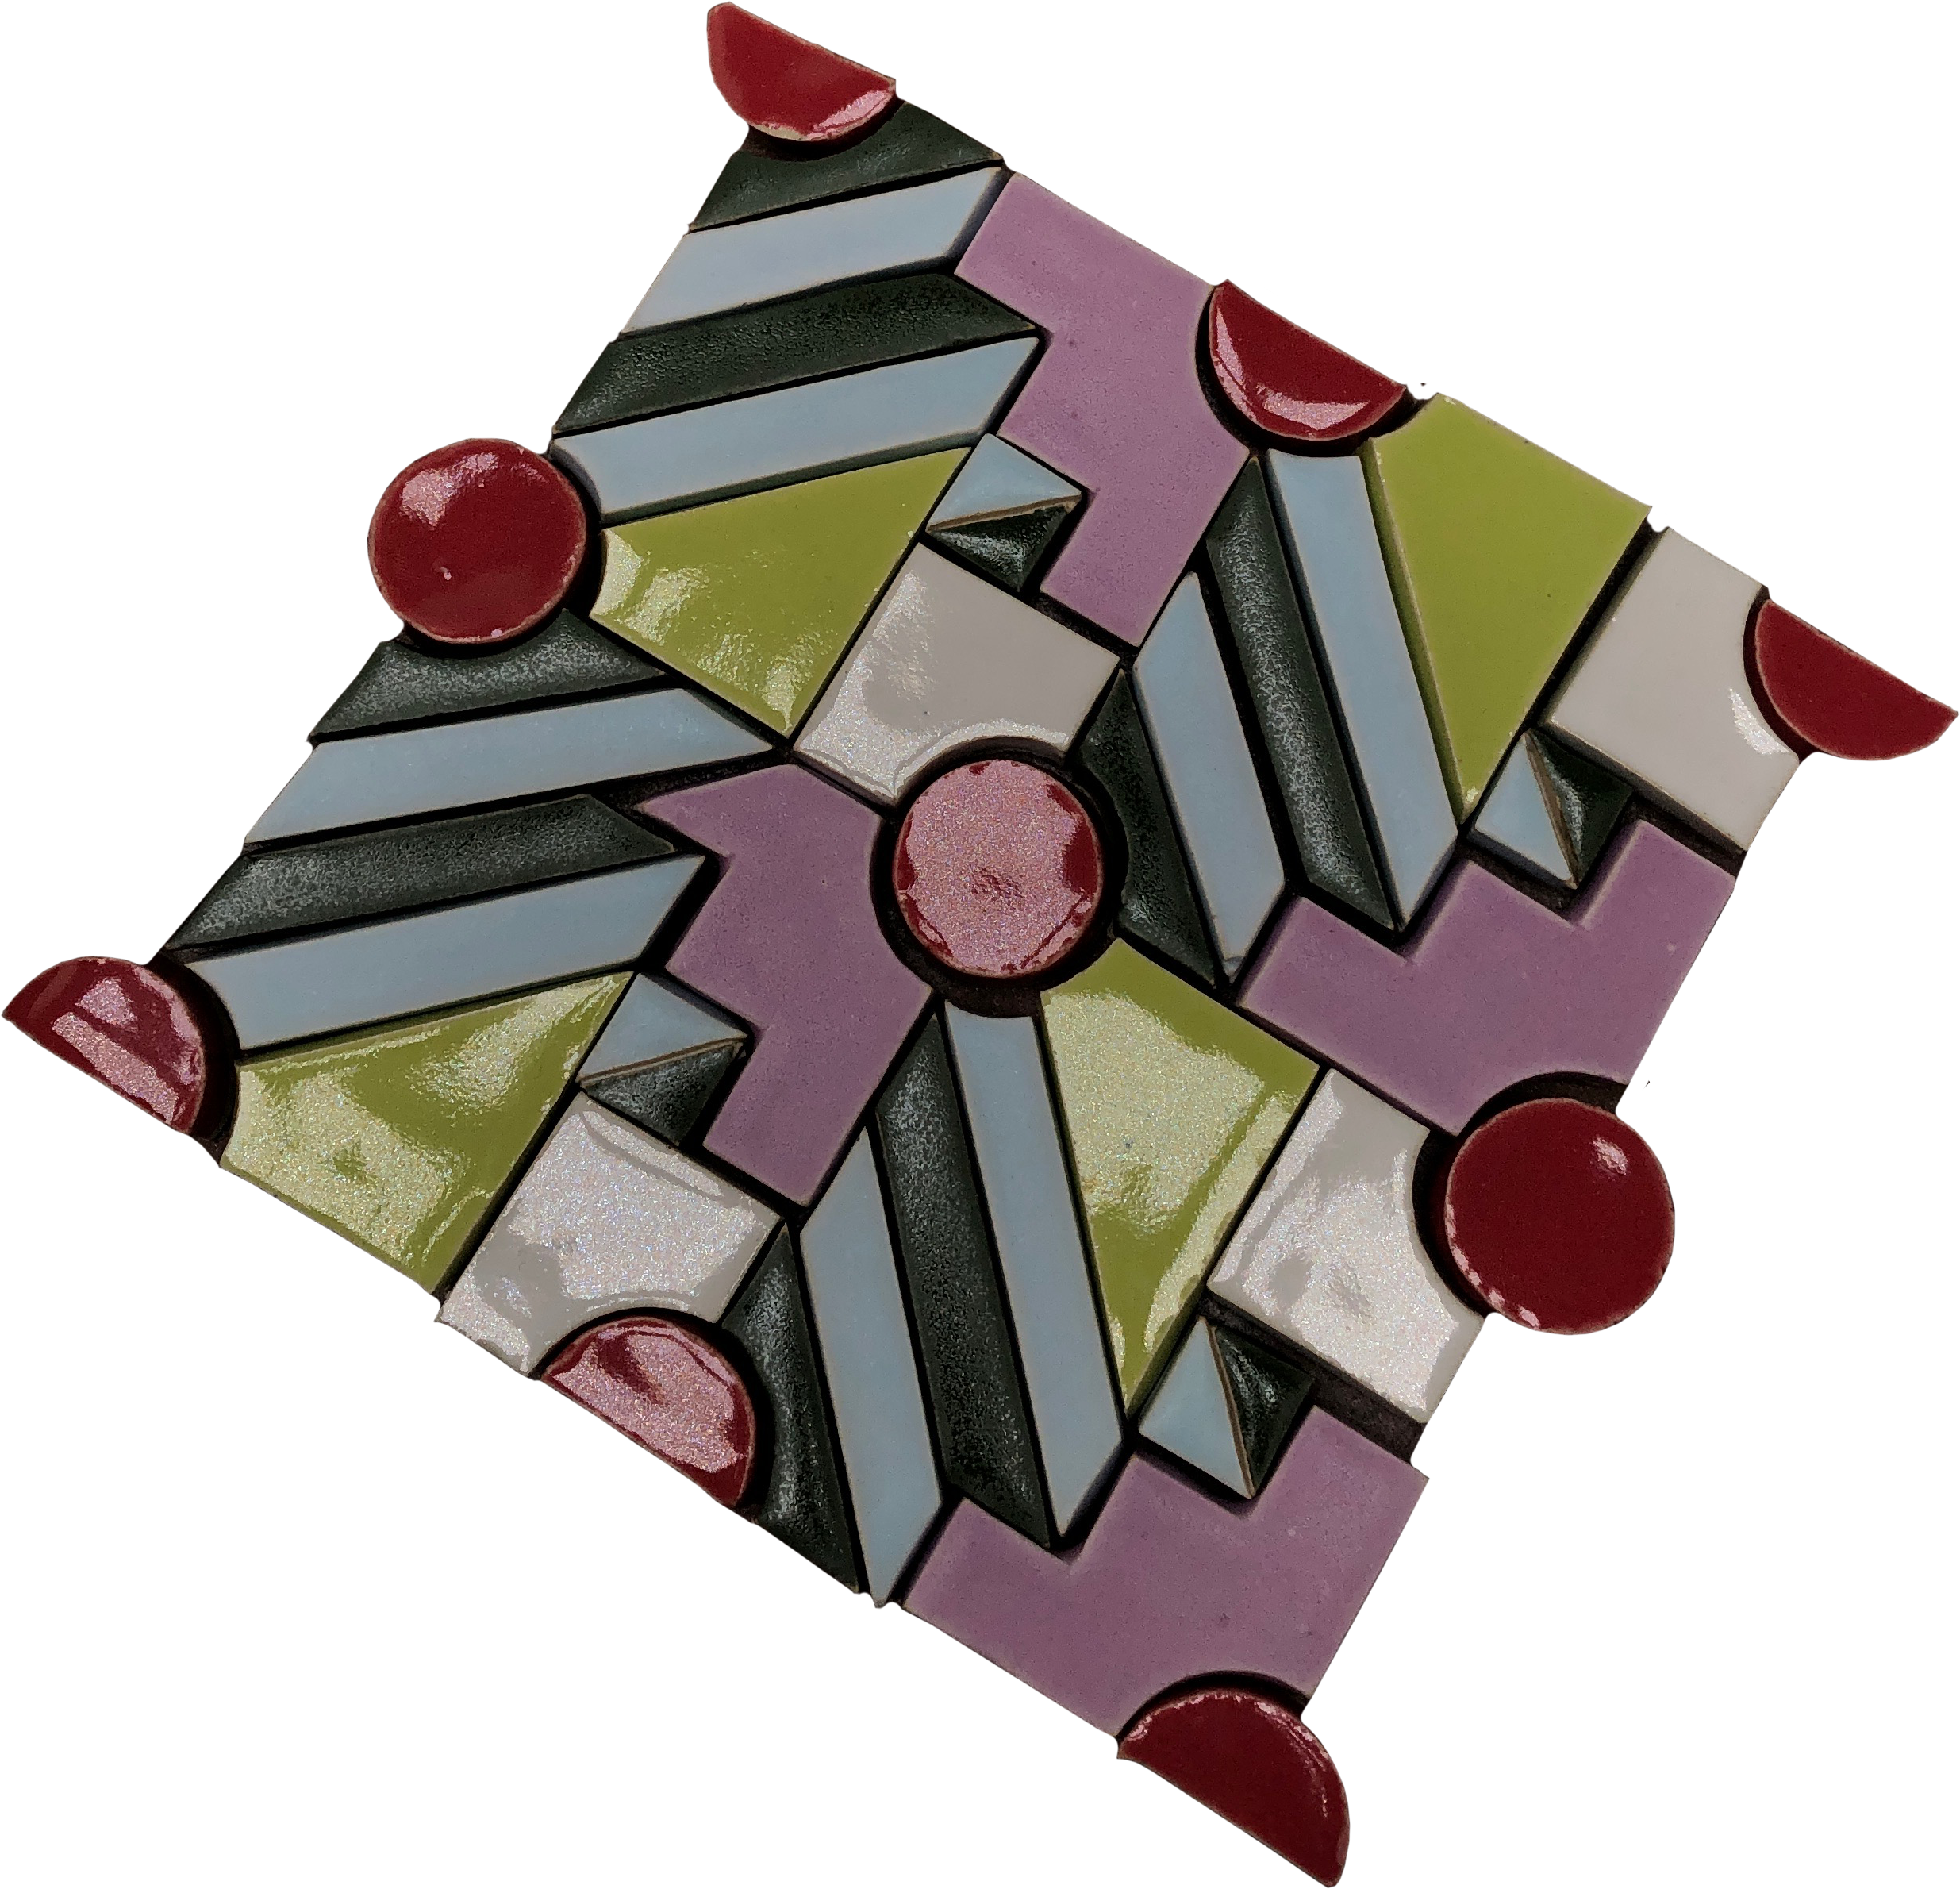
Round 4: “Exploding the form”
The phrase “exploding the form” is one very overused in the world of architecture. It is a phrase that can be taken both literally and figurateivly, and was a thought that occured to me when looking at and working with these geometric shapes. Instead of treating the repeat as an individual unit, I decided to treat each geometric element as it’s own part of the whole. The final product was a series of puzzle piece-like ceramic shapes that I turned into magnets.
I found that:
- It is incredibly hard and time consuming to make precision cuts when working with very small pieces of clay. If I were to do this again, I would design a custom steel rule die or cookie cutter to improve accuracy and production speed
- The color combinations and glaze application came out exactly as we had rendered them. The color key we had built using photos of all the studio’s in-house test tiles was an accurate way to work with color
- The tiny pieces were cute but hard to keep on their own. I had been making magnets out of my test tiles earlier, and transforming these pieces into magnets took this to the next level
The viability of expanding on our project came to a hold with COVID-19 in March of 2020 as my studio shutdown.
I like to think of this as an ongoing, ever expansive project and collaboration. As we both grow in our own fields and studies, we bring new interests to each other and think about new ways of creating & sharing our discoveries with one another.
---------------------------------------------------
PART 2
---------------------------------------------------From 2D ︎︎︎ 3D ︎︎︎ 3D rendering (in 2D)
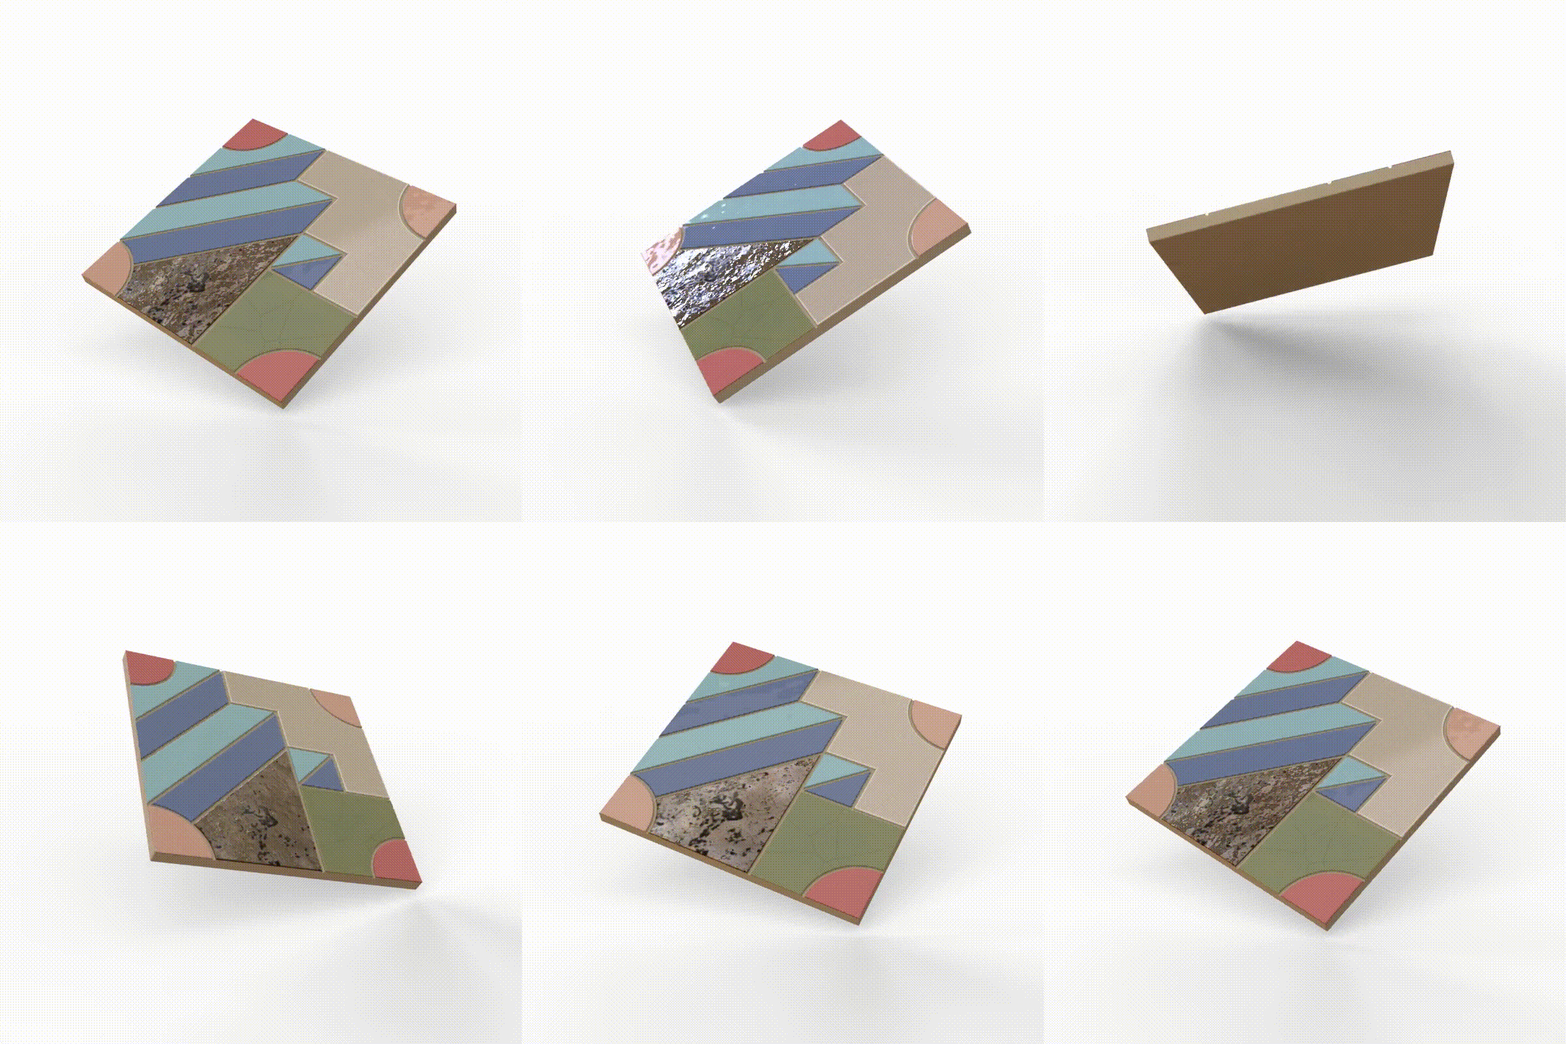
While stuck inside during the first winter of the COVID-19 pandemic, Paul reached out to see if I was still working on my ceramic practice. He had been working on digital rendering as a new source for sampling, and we discussed the ways in which rendering softwares now allowed for more precise modeling. In his field of work, he often helps companies create highly-detailed purely digital mock-ups of products, which allow for sped-up sampling timelines as well as reduced sampling costs and negative environmental impacts. We decided to try and take one of the tile sets I had made, create them digitally, and play with them as 3D models back on a 2D screen.

Close-up of glaze textures rendered
Visualizing Scale

Tile imagined & rendered at 2 different scales
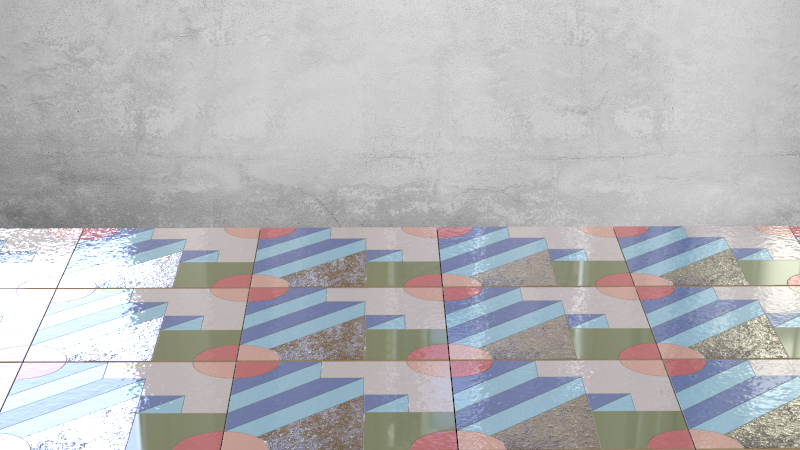 Tile imagined & rendered at a larger size
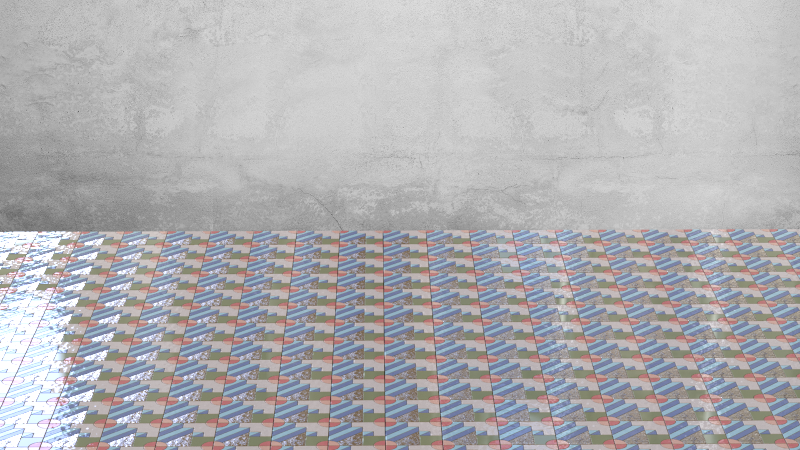 Tile imagined & rendered at actual size
Final Renderings

© 2022 Emily Kim
